Download and 3d print your brackets today!
Visual instructions and what is included is listed below.

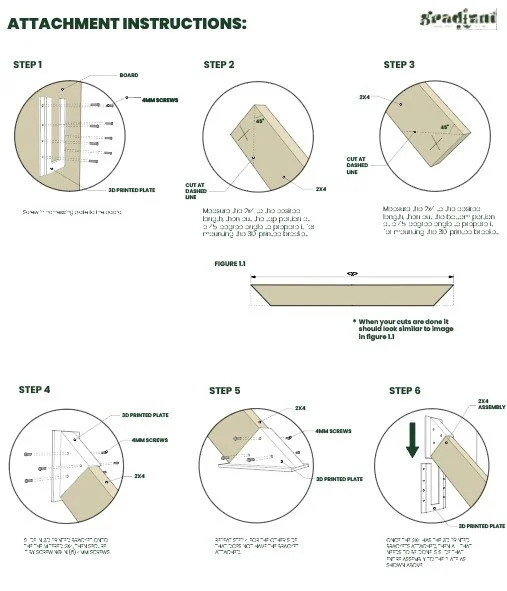
Step 1
Screw in harnessing plate onto board.

Step 2
Cut the 2x4 at a 45-degree angle, then secure the 3D-printed brackets using 4mm screws.

Step 3
Cut the 2x4 at a 45-degree angle at the bottom, then secure the 3D-printed brackets using 4mm screws.
Step 4
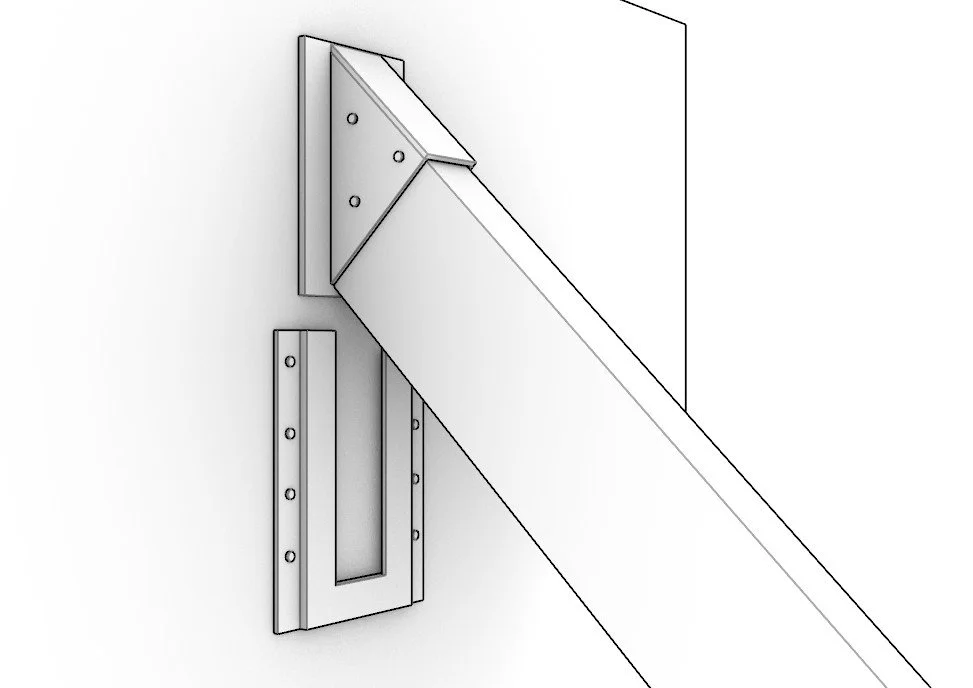
Slide 2x4 assembly onto the plate. Once you do that, you are done!
What you will get
+
Downloadable PDF guide for a step by step instructions on what to do after you 3d print your brackets + plate.
PDF Guide
This downloadable STL file includes two 3D printed brackets, one for the top mount and one for the bottom, along with a plate that the brackets will slide into.